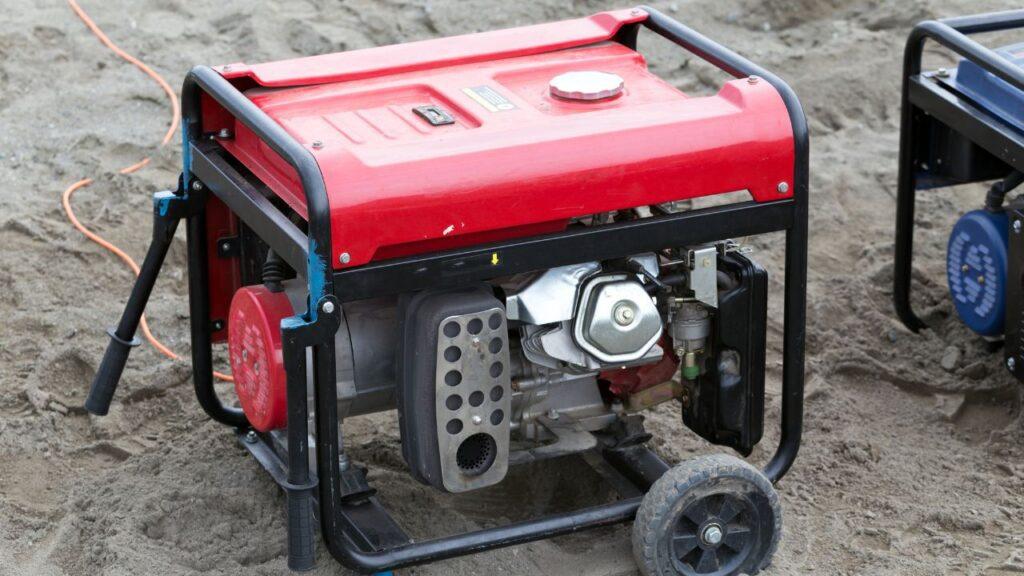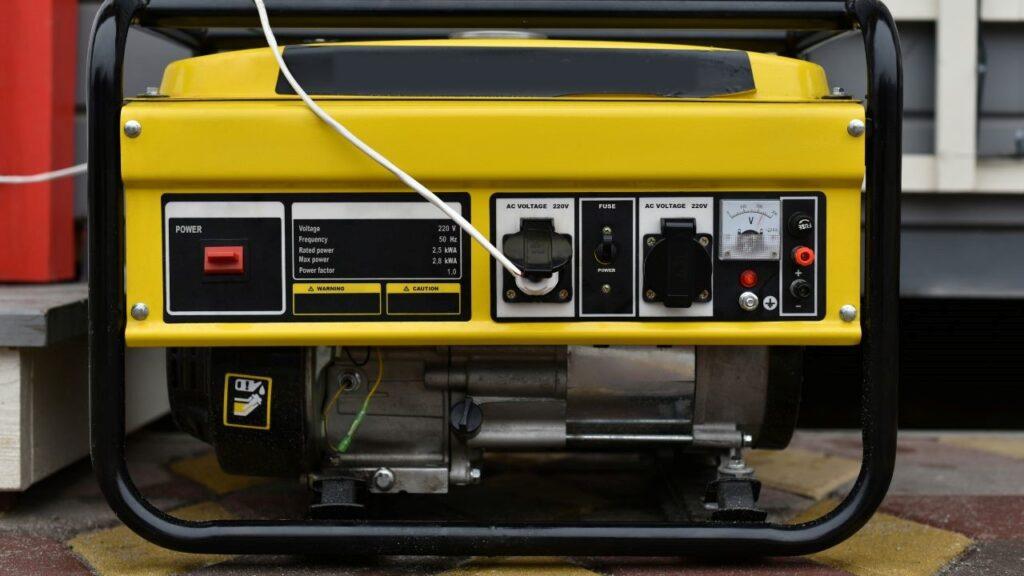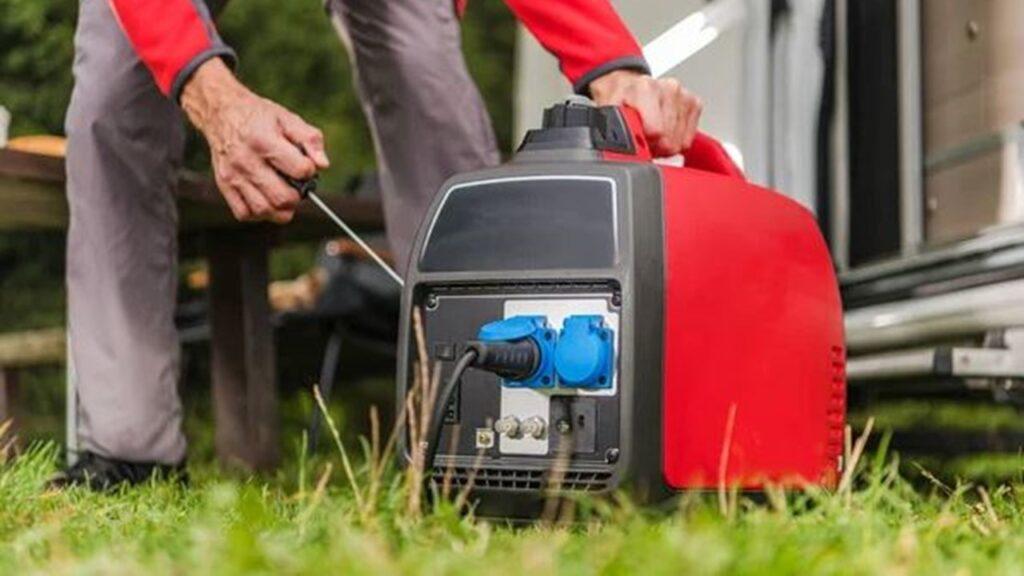
To clean the carburetor in your generator, you’ll need to remove it, drain any old fuel, and clear out any dirt or gunk that’s blocking the small passages inside. A clogged carburetor is one of the most common reasons a generator won’t start or runs rough. Cleaning it helps fuel flow properly so your engine runs smoothly again.
This article will walk you through the steps to clean your generator’s carburetor, what tools you’ll need, and signs that it might be dirty. Whether you’re fixing a starting issue or doing routine maintenance, this can help bring your generator back to life.
What a Carburetor Does
Imagine your generator as a big, powerful robot that needs the right kind of energy to work. The carburetor is like the robot’s chef—it carefully measures and mixes air and fuel to create the perfect energy drink. If the mix is off, the robot won’t function well, similar to how a bad meal can ruin our day.
Common Issues with Dirty Carburetors
Just like our bodies can feel sluggish if we eat poorly, a generator can start acting up if its carburetor is dirty. Here’s what could happen:
- The generator might cough and splutter like it’s catching a cold, struggling to stay on.
- It could start feeling moody, stopping unexpectedly after running for a short while.
- Or it might make unusual noises, sounding rough and grumpy.
These symptoms suggest that the carburetor is clogged with dirt, debris, or old fuel residues, much like how arteries can get clogged with bad cholesterol.
Signs Your Carburetor Needs Cleaning
Knowing when to clean your carburetor is key. Here are some signs:
- Your generator is hard to start, behaving like a car on a frosty morning.
- It stops running out of the blue, like it’s just too tired to keep going.
- The engine runs unevenly, sometimes fast, sometimes slow, as if it can’t make up its mind.
With this understanding, you’ll be better prepared to tackle carburetor cleaning and ensure your generator runs efficiently. Now that we know what the carburetor does and why it’s important to keep it clean.
Preparing to Clean Your Generator’s Carburetor
Before we start scrubbing away at your generator’s carburetor, it’s important to get everything prepared. Like setting up a workspace for a DIY project, we need to gather the right tools, materials, and take necessary safety measures. This preparation ensures that the cleaning process will be smooth, safe, and effective.
Safety First
When it comes to working on your generator, safety cannot be overlooked. Here’s how to make sure you stay safe while cleaning the carburetor:
- Turn off the generator: Ensure it is completely powered down to avoid any accidental starts.
- Disconnect the spark plug wire: This is an extra precaution to ensure the engine won’t start while you’re working.
- Wear protective gloves: Keep your hands clean and protected from harsh chemicals.
- Ensure good ventilation: If you’re working indoors, open windows or work in a ventilated space to avoid inhaling cleaner fumes.
Safety is crucial, not just to protect yourself but to also ensure that your generator is handled properly. By following these steps, you can start the cleaning process without any worries.
Tools and Materials Needed
Cleaning a carburetor effectively requires having the right tools at hand. Here’s what you’ll need:
- Carburetor cleaner: Essential for removing gunk and buildup inside the carburetor.
- Screwdrivers: Needed to disassemble the carburetor and access tough spots.
- Rags and small brushes: Useful for delicate cleaning and reaching into small crevices.
- A container: Keep small parts secure so they don’t get lost during cleaning.
Gathering these tools beforehand makes the process efficient and prevents any mid-task interruptions. It’s like having all ingredients ready before you start cooking—everything goes smoother.
Accessing the Carburetor
Getting to the carburetor is the first step in the actual cleaning process. Here’s how to reach it:
- Consult the generator’s manual: This is your best guide to understanding the specific model you’re working on.
- Remove the air filter housing: This is usually the first step to gaining access to the carburetor.
- Use your tools: Carefully unscrew and remove parts that are in the way, following the manual’s guidance.
Finding your way to the carburetor might seem tricky, but with the right guidance and tools, it’s straightforward. Once you have clear access, you’re ready to start the actual cleaning.
With the tools, safety gear, and carburetor access ready, you’re all set to move onto the next stage. Proper preparation not only ensures safety but also makes the upcoming cleaning process easier and more effective.
Step-by-Step Guide to Cleaning the Carburetor
With our workspace prepped and the carburetor accessible, it’s time to roll up our sleeves and start the thorough cleaning process. A clean carburetor ensures your generator for emergency home backup or outdoors operates efficiently, preventing frustrating breakdowns and ensuring it’s always ready when you need it most.
Disassembling the Carburetor
Think of disassembling the carburetor as solving a complex puzzle where every piece is crucial. Precision and organization are key to a smooth process:
- Label and organize: As you remove each part, label them with tape or lay them out on a mat in the exact order they were removed. This simple step saves time and confusion during reassembly.
- Use the right tools: Select the appropriate screwdrivers to carefully remove screws. Using the wrong size can strip the screws, making reassembly difficult.
- Take photos: If this is your first time, or if the setup is complex, taking photos at each step can act as a handy reference and guide during reassembly.
Careful disassembly not only prevents damage to the carburetor parts but also sets the stage for effective cleaning and a hassle-free reassembly.
Cleaning Process
Now that the carburetor is disassembled, every part is ready to be cleaned. This stage is vital for removing any debris that could impair performance:
- Spray carburetor cleaner: Generously apply a high-quality carburetor cleaner to each part. The cleaner works to dissolve stubborn gunk and build-up that can hinder the engine’s performance.
- Scrub with brushes: Use small brushes or old toothbrushes to scrub the parts thoroughly. Pay special attention to crevices and corners where dirt likes to hide.
- Rinse and dry: If your cleaner’s instructions permit, rinse the parts with clean water to wash away any remaining dirt and cleaner residue. Dry each component thoroughly with a clean cloth to prevent any moisture-related issues like rust.
A meticulously cleaned carburetor not only performs better but also extends the lifespan of your generator by ensuring all parts move smoothly and efficiently.
Handling Small Components
The small components of the carburetor, such as jets and needles, are especially delicate and crucial for precise fuel regulation:
- Clean jets and passageways: Use fine wires or specialty tools designed for carburetors to clear out the jets and internal passageways. These areas must be clear of blockages to ensure proper fuel flow.
- Inspect for wear: Examine all small parts for any signs of wear or damage. Even minor wear can impact the efficiency of your carburetor, so replace parts as necessary.
- Re-lubricate if necessary: Some components may require a light application of lubricant after cleaning. This helps protect against corrosion and ensures smooth operation.
Attention to these small details can prevent significant problems down the road and ensures your generator operates at peak efficiency.
This comprehensive approach to cleaning your generator’s carburetor not only enhances its performance but also prolongs its operational life. With a clean carburetor, your generator will be more reliable, efficient, and ready to tackle any job.
Reassembling and Testing the Carburetor
After a thorough cleaning, reassembling and testing the carburetor are crucial steps to ensure that your generator operates as smoothly and efficiently as possible. This phase is akin to putting a puzzle back together; every piece must fit perfectly to achieve the desired outcome.
Reassembly Instructions
Reassembly is meticulous work, requiring patience and attention to detail:
- Follow your labels and photos: Use the organizational aids you set up during disassembly (like labels and photos) to guide you in putting everything back in its place. This ensures that no part is misplaced or forgotten.
- Tighten screws appropriately: Screws should be tightened to the specifications usually noted in the generator’s manual, not too loose and not too tight. Over-tightening can damage the threads or crack the carburetor’s body, while too loose can lead to leaks or parts coming loose during operation.
- Double-check connections: It’s critical to ensure all connections, including hoses and clips, are secure. Double-checking these can prevent future leaks or operational failures. This is similar to making sure all doors and windows are properly shut before leaving the house.
Careful reassembly ensures that everything is in its right place, offering a foundation for effective performance when the generator is back in use.
Testing the Generator
Testing is the moment of truth, where you see the results of your efforts:
- Reconnect the spark plug wire: This simple step is often overlooked but is essential for the generator to start.
- Start the generator: Initiate the generator’s start sequence. It should start more effortlessly than before if all parts are correctly cleaned and reassembled.
- Listen and observe: Pay close attention to the sound of the engine and any vibrations. A smooth-running engine with minimal noise and steady power output indicates a successful cleaning and reassembly.
This testing phase is vital to confirm that the carburetor is functioning correctly and that the generator is ready for reliable service.
Troubleshooting Post-Cleaning Issues
Even with careful work, sometimes issues can arise after reassembly:
- Check for loose parts: If the generator is unusually noisy or vibrating, recheck to ensure all parts are tight and well secured.
- Review the assembly: If the generator fails to start or performs poorly, revisit your assembly process. A component might have been installed incorrectly or in the wrong order.
- Consult the manual: When in doubt, the generator’s manual is your best resource. It can offer specific troubleshooting steps for common issues related to assembly errors.
These troubleshooting steps help address any issues early, ensuring that minor problems don’t turn into major headaches. Proper reassembly and rigorous testing are crucial steps that ensure your generator remains reliable and efficient, ready to perform whenever needed.
Maintaining Your Generator’s Carburetor after Cleaning
Regular maintenance of your generator’s carburetor is key to ensuring it operates efficiently over the long term. Like taking care of a car, keeping the carburetor in good shape prevents problems down the road and keeps your generator ready for any situation.
Regular Maintenance Tips
Maintaining your carburetor doesn’t have to be complicated. Here are some straightforward steps to keep it in top condition:
- Regular cleaning: Even if your generator seems to be running fine, schedule a cleaning for the carburetor at least once a year to prevent build-up and ensure optimal performance.
- Check for signs of wear: Inspect the carburetor regularly for any signs of wear or damage, especially after extensive use or long periods of inactivity.
- Use fresh fuel: Old or contaminated fuel is a common cause of carburetor problems. Ensure you use fresh fuel and add a stabilizer if the generator will not be used for a long time.
Simple preventative measures can extend the life of your carburetor and avoid the need for more complex repairs.
When to Consider Professional Service
Sometimes, DIY maintenance isn’t enough, and professional help may be needed:
- Complex issues: If you encounter problems that are beyond your comfort zone, such as internal damage to the carburetor or adjustments that require special tools, it’s wise to seek professional help.
- Regular professional check-ups: Consider having a professional service your generator periodically. They can spot issues that you might miss and perform more complex maintenance tasks that can further extend the life of your generator.
- After a major malfunction: If your generator has experienced a major malfunction, a professional can ensure that all aspects, not just the carburetor, are in good working order.
Relying on professionals when needed can ensure that your generator remains in optimal condition and helps avoid costly breakdowns in the future.
Wrapping It Up!
Taking good care of your generator’s carburetor isn’t just a chore; it’s about making sure you’ve got reliable power when you need it most. Regularly cleaning the carburetor and keeping an eye out for any signs of trouble can save you from headaches down the road. It’s pretty much like looking after a dependable car—give it the attention it deserves, and it’ll be ready to go whenever you are. And remember, if things seem tricky or you’re out of your depth, there’s no shame in calling in a pro. They can tackle the big issues and help keep your generator humming smoothly. By staying on top of maintenance, you’re not just looking after your generator; you’re ensuring you’re all set for whatever comes your way, be it a big storm or just a fun weekend away.
Related FAQs
How Often Should I Clean My Generator’s Carburetor?
You should clean your generator’s carburetor at least once a year, or more often if it’s used frequently.
What Are the Signs of a Dirty Carburetor?
Common signs include difficulty starting the generator, poor engine performance, and irregular running.
Can I Use Any Type of Cleaner for the Carburetor?
It’s best to use a cleaner specifically designed for carburetors to avoid damaging sensitive components.
What Should I Do If My Generator Still Doesn’t Start After Cleaning?
Check for other issues like spark plug malfunctions or fuel quality, and consider professional help if problems persist.
Is It Necessary to Remove the Carburetor for Cleaning?
While some cleaning can be done with the carburetor in place, removing it often allows for a more thorough cleaning.

Matt Riggins has spent years working with generators, solar panels, transfer switches, batteries, fuel setups, and circuit wiring. He’s the guy friends and neighbors call when the power goes out or something just won’t run right. From off-grid installs to fixing up old or new portable units, he’s been through it all. Alan doesn’t just talk theory, he’s out there solving real problems and helping people keep their systems running when it matters most.


